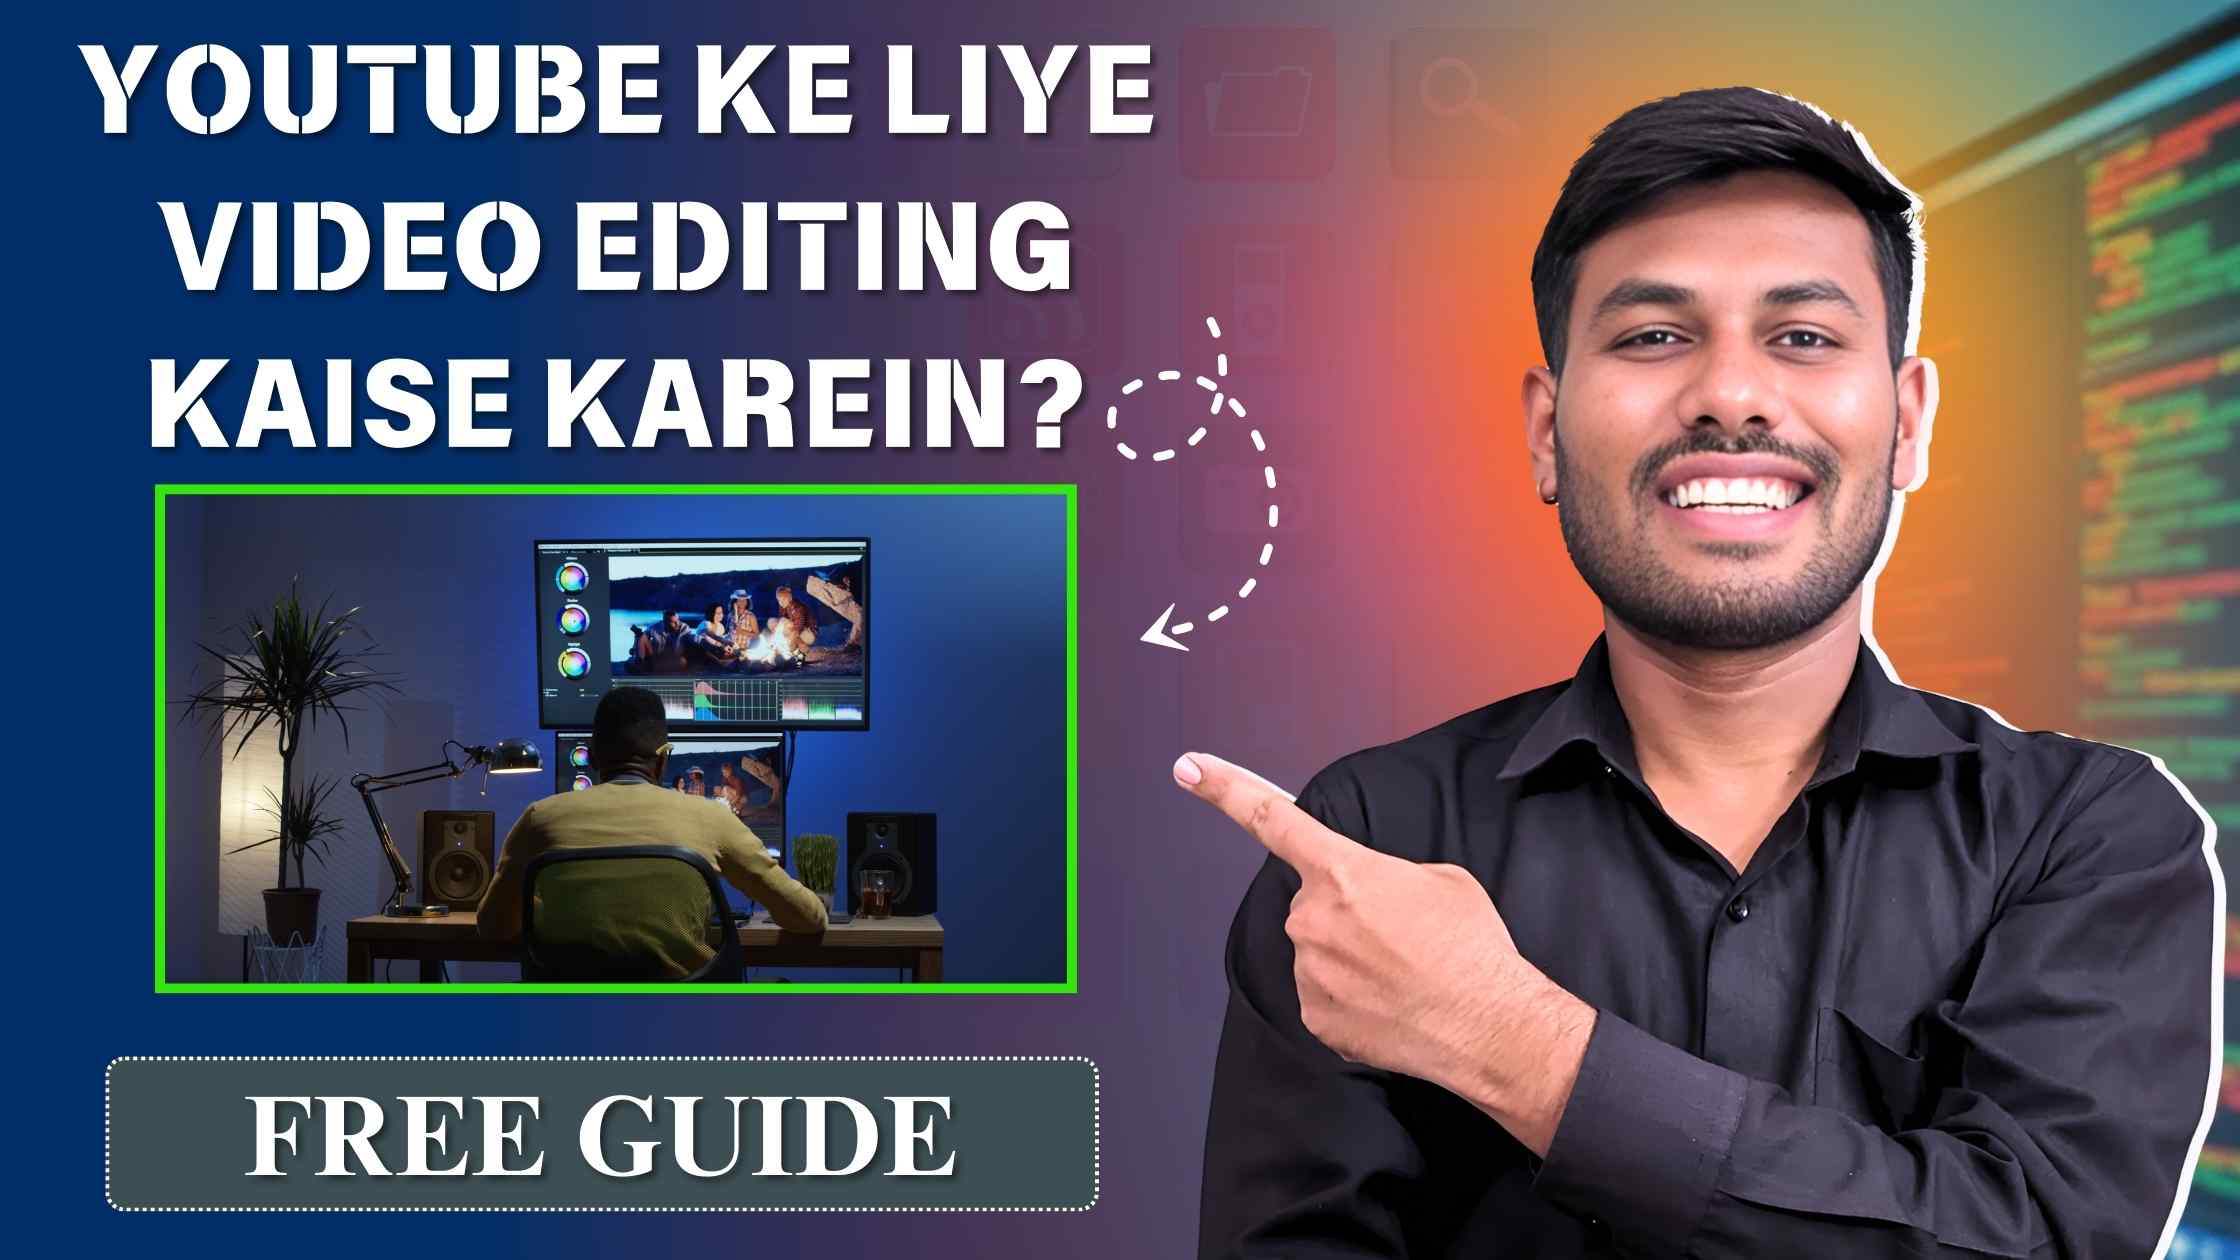
YouTube Ke Liye Video Editing Kaise Karein?
YouTube par successful hone ke liye aapka content unique, engaging aur professionally edited hona chahiye. Video editing aapko apne raw footage ko transform karne ka moka deta hai taaki aapke videos polished aur entertaining lagein. Agar aap nayi shuruaat kar rahe hain aur soch rahe hain ki YouTube ke liye video editing kaise karein, toh yeh guide aapko step-by-step process aur best tools dikhayegi.
Video Editing Ke Basics
YouTube video editing ka matlab hai aapke recorded footage ko is tarah se edit karna taaki wo visually engaging aur well-structured lage. Isme video clips ka cutting, transitions ka lagana, audio mixing, aur effects ka istemal hota hai.
- Essential Elements of Video Editing:
- Cutting: Unnecessary parts ko remove karna aur relevant parts ko together join karna.
- Transitions: Clips ke beech smooth shift ke liye transitions add karna.
- Audio Synchronization: Voiceover ya background music ko video ke sath sync karna.
- Text & Graphics: Informative text aur graphics add karna.
- Effects & Filters: Visual appeal badhane ke liye effects lagana.
Example:
Agar aap ek travel vlog bana rahe hain, toh aapko raw footage ko trim karna hoga, smooth transitions lagane honge, background music add karna hoga, aur highlights ko emphasize karna hoga taaki video engaging lage.
YouTube Video Editing Ke Liye Best Free Tools
Agar aap beginner hain toh professional software kharidne se pehle kuch free tools ka use karke editing shuru kar sakte hain. Yeh tools simple hain aur powerful features offer karte hain jo basic se le kar advanced editing tak me madad karte hain.
- Shotcut:
Shotcut ek open-source video editor hai jo multiple formats ko support karta hai aur advanced editing options deta hai, jaise filters, transitions, aur color grading.- Features:
- Easy drag-and-drop interface.
- Wide range of video filters.
- 4K video support.
- Features:
- OpenShot:
OpenShot ek aur beginner-friendly editor hai jo simple interface ke sath aata hai aur aapko professional-quality videos banane me madad karta hai. Isme aapko drag-and-drop editing ke features milte hain.- Features:
- Multiple layers for images, videos, and audio.
- Customizable transitions.
- 3D animation effects.
- Features:
- iMovie (for Mac users):
Agar aap Mac use karte hain, toh iMovie kaafi popular aur easy-to-use video editor hai. Yeh basic features se lekar professional-grade tools tak provide karta hai.- Features:
- Intuitive interface.
- Built-in templates aur themes.
- Fast rendering and export.
- Features:
- InShot (Mobile App):
Agar aap mobile se video editing karna chahte hain, toh InShot ek powerful aur simple app hai jo YouTube videos edit karne ke liye kaafi useful hai.- Features:
- Video trimming and splitting.
- Music and sound effects.
- Stickers and text overlay.
- Features:
- DaVinci Resolve:
Agar aapko thoda advanced editing chahiye, toh DaVinci Resolve ek free yet professional-grade software hai jo color grading aur audio editing ke powerful tools deta hai.- Features:
- Advanced color correction.
- Multi-camera editing.
- Fusion for visual effects.
- Features:
YouTube Video Editing Ka Step-by-Step Process
Aapko video editing shuru karne se pehle clear idea hona chahiye ki aapka final video kaisa dikhna chahiye. Yeh step-by-step process aapko guide karega ki aap apne YouTube videos ko kaise efficiently edit kar sakte hain.
- Step 1: Footage Import Karein:
Sabse pehle aapko apne raw footage ko video editor me import karna hoga. Shotcut ya OpenShot jaise tools me footage ko drag-and-drop karke timeline me arrange karein.- Pro Tip: Hamesha apne footage ko logical sequence me arrange karein taaki story coherent lage.
- Step 2: Clips Trim Aur Cut Karein:
Unnecessary footage ko remove karne ke liye timeline me clips ko cut karein. Aapko relevant aur impactful parts ko hi use karna chahiye.- Pro Tip: Quick cuts aur jump cuts ka use karein taaki video fast-paced aur engaging lage.
- Step 3: Transitions Add Karein:
Clips ke beech transitions ka use karein taaki shift smooth lage. Popular transitions jaise fades, wipes, aur dissolves aapke videos me professional touch dete hain.- Pro Tip: Transitions ka overuse avoid karein, sirf jahan zarurat ho waha use karein.
- Step 4: Music Aur Voiceover Add Karein:
Background music ya voiceover ko timeline me sync karein. Ensure karein ki audio ka level sahi ho aur music ya voiceover clear ho.- Pro Tip: Free music libraries ka use karein jaise YouTube Audio Library ya royalty-free music sites.
- Step 5: Text Aur Graphics Insert Karein:
Agar aapko informational text ya graphics add karni hai, toh tools jaise OpenShot aur iMovie ka use karke text overlay aur lower thirds create karein.- Pro Tip: Clean aur simple fonts ka use karein aur ensure karein ki text easily readable ho.
- Step 6: Color Correction Aur Filters Lagayein:
Video ke visual look ko improve karne ke liye color correction aur filters ka use karein. Basic brightness, contrast aur saturation adjust karne se video kaafi enhanced lag sakta hai.- Pro Tip: DaVinci Resolve jaise software ke advanced color grading features ka use karein agar aapko professional touch chahiye.
- Step 7: Final Export:
Jab aapka editing complete ho jaye, toh video ko export karein. YouTube ke liye standard format MP4 hai aur resolution 1080p me rakhein taaki video high quality lage.- Pro Tip: Ensure karein ki export settings YouTube ke recommended guidelines ke according hon.
YouTube Video Editing Ke Best Practices
- Keep it Simple:
Hamesha apne video ko simple aur clear rakhein. Over-editing ko avoid karein taaki aapka message clear aur engaging rahe. - Focus on Storytelling:
Editing ke dauran apne story flow par focus karein. Ek acchi story aapke viewers ko engage rakhti hai. - Use Royalty-Free Music:
Ensure karein ki aap sirf royalty-free music ka use karein taaki copyright issues na ho. - Consistency Maintain Karein:
Aapke editing style aur video format me consistency honi chahiye. Yeh aapke channel ka unique brand identity banata hai. - Engaging Thumbnails Create Karein:
Aapke videos ke thumbnails aur titles bhi editing ka ek hissa hain. Ensure karein ki aapke thumbnails eye-catching aur video ke content se relevant hon.
Conclusion
YouTube ke liye video editing seekhna aur implement karna ek skill hai jo aapko apne channel ko grow karne me help karegi. Agar aap basic tools ka use karke consistently practice karein, toh dheere-dheere aap professional editing skills develop kar paenge.
Key Takeaways:
- Basic se shuru karein aur gradually advanced tools aur techniques seekhein.
- High-quality content ke liye sahi tools aur techniques ka use karein.
- Editing ke dauran storytelling aur viewer engagement par focus karein.
Ab jab aap jaante hain YouTube video editing kaise karein, toh apni creativity aur ideas ko use karke high-quality videos banayein aur apne YouTube channel ko success ki taraf le jayein!
